- Published on
Screenshots for the app stores: From GIMP templates to my own app
- Authors
- Name
- Aymeric Chalochet
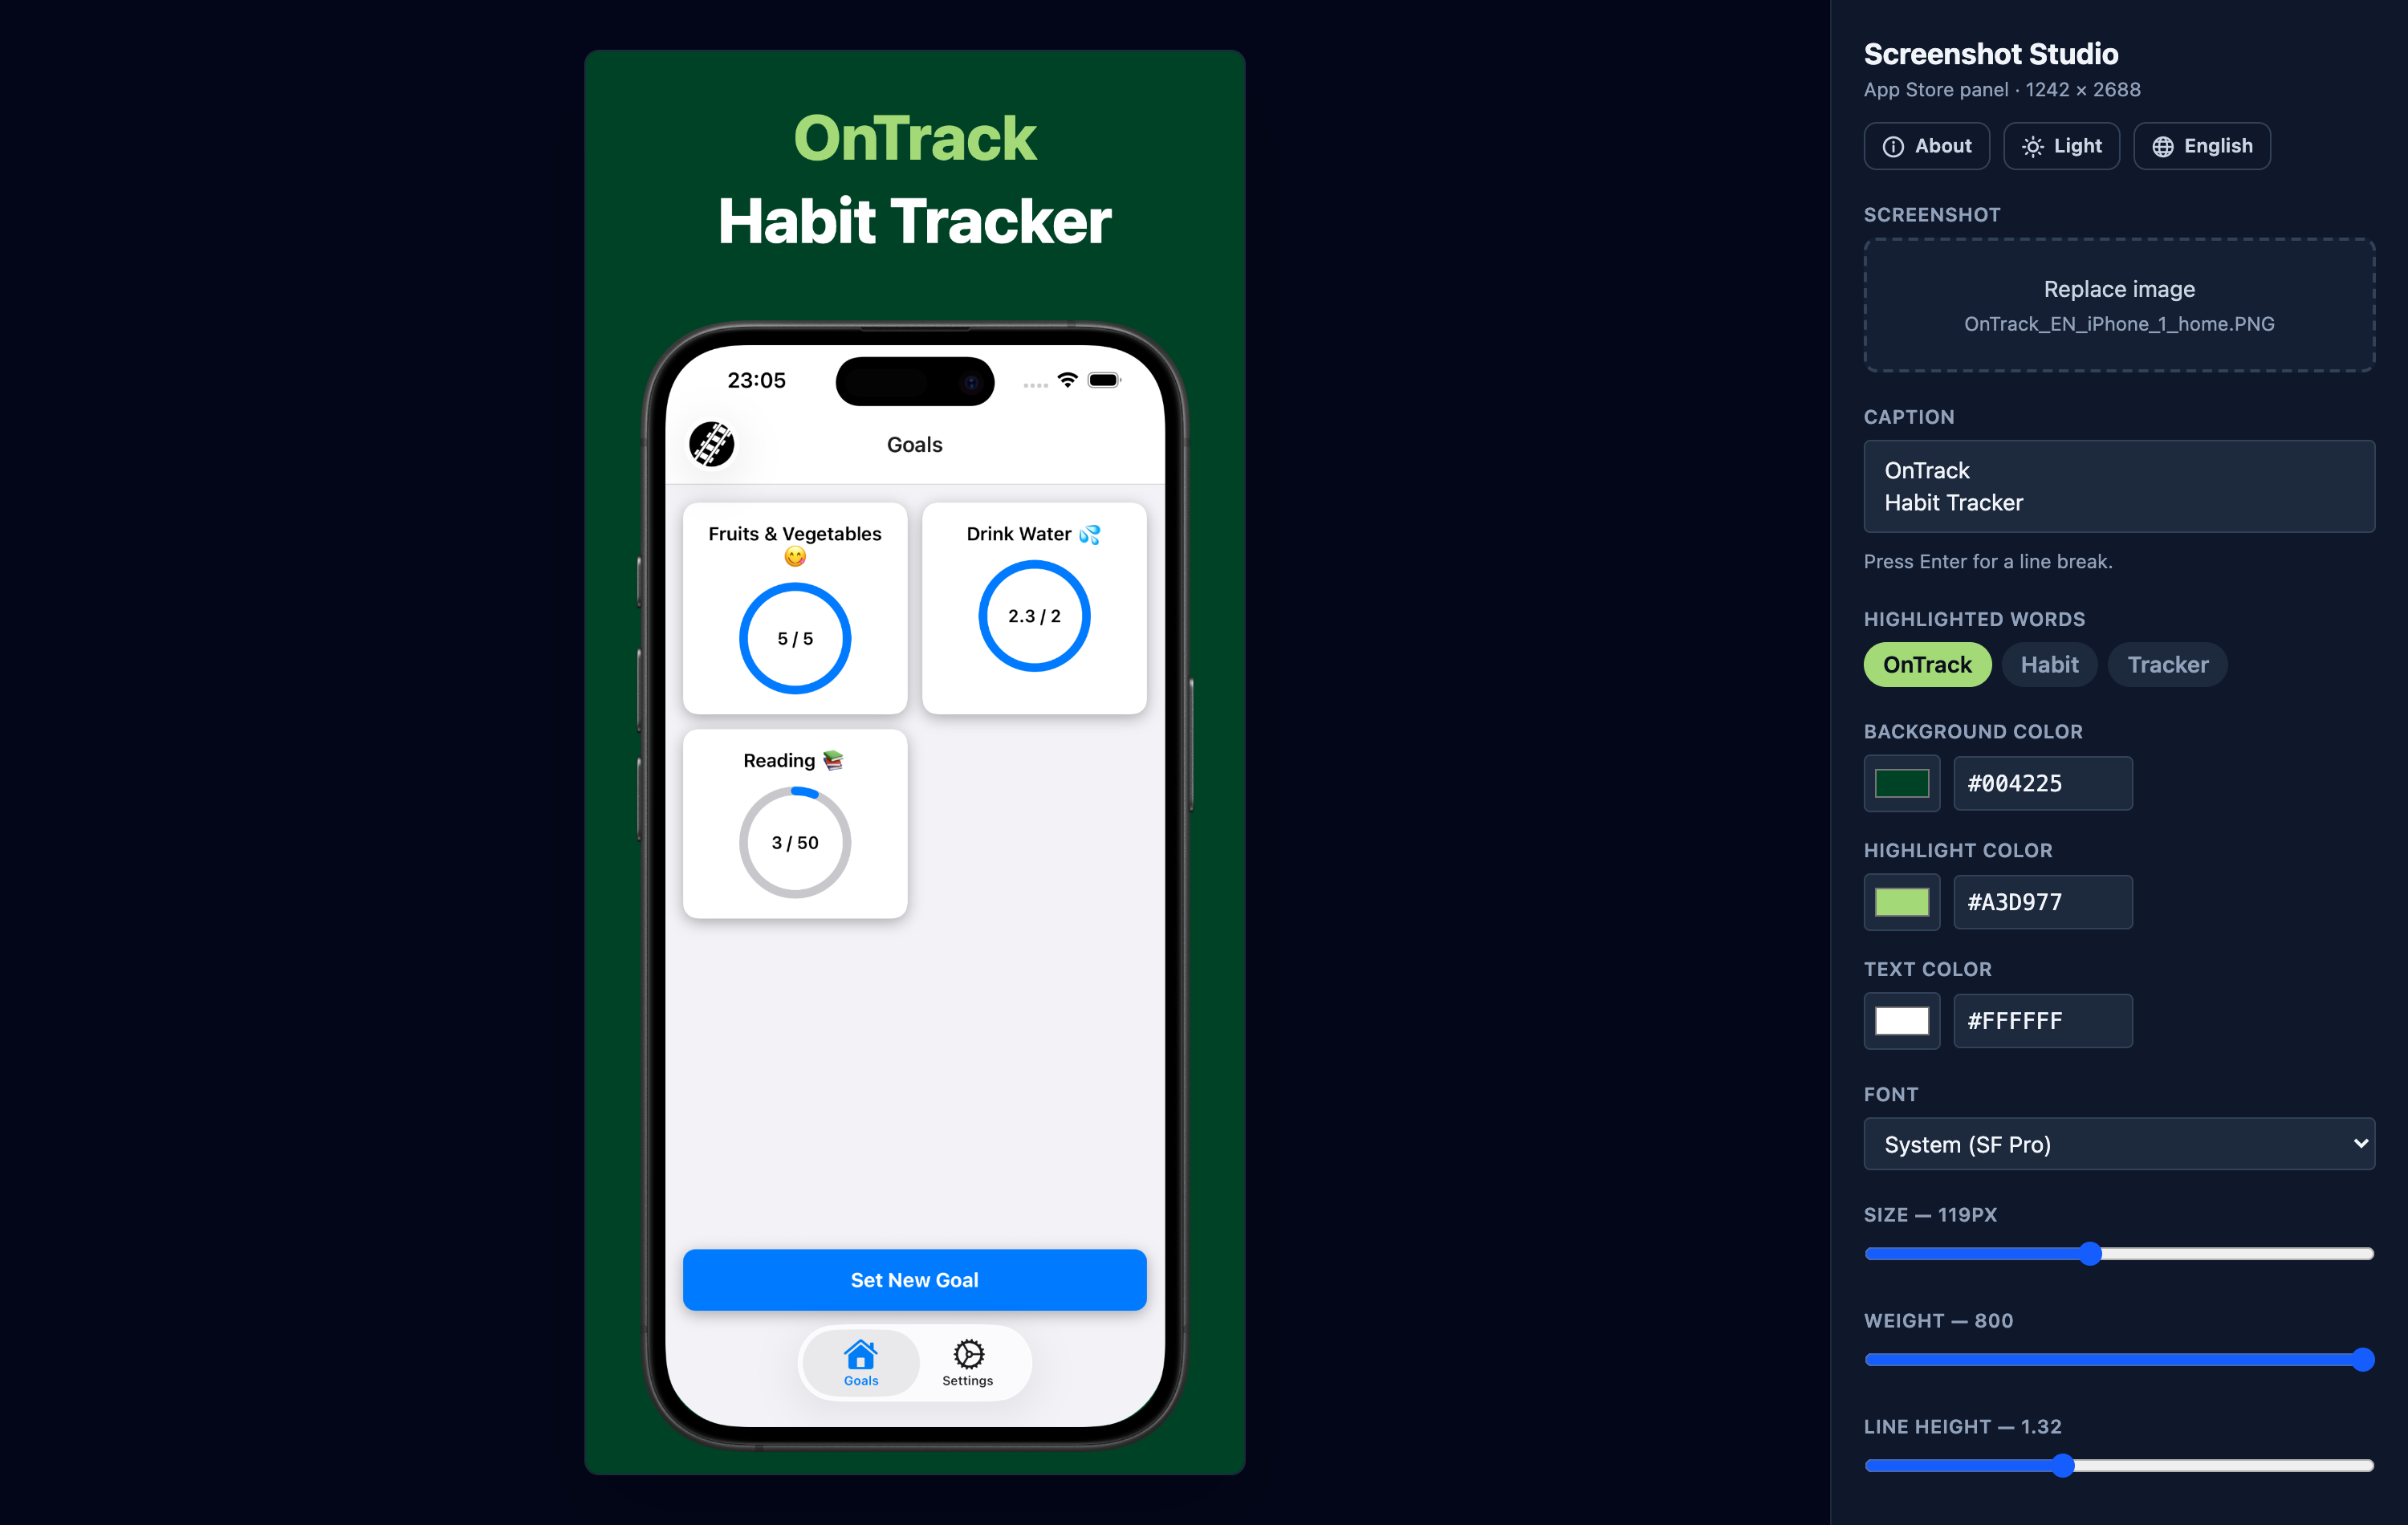
When I wrote about building OnTrack, I mentioned that producing the store assets was a massive time sink, and I promised a dedicated article about the templates and the process.
This is that article, except the GIMP templates turned into a dedicated web app, screenshot-studio.aymeric.fyi and macOS app (coming soon), to speed up the process.
18 Hours with a GIMP Template
To publish OnTrack on the Apple AppStore and Google Play Store, I had to produce the screenshots. And one of my goals was to keep OnTrack's development as low-cost as possible. I wanted to produce enough screenshots to make the app look good on the app stores, and I wanted them in multiple languages.
A quick search of existing apps and services to create such screenshots revealed that the free tiers were either too limited, e.g. up to five screenshots without multilingual support, or too expensive, e.g. up to $20 a month. More on that below.
At the time, I settled on creating a template in GIMP. GIMP is a free and open-source image processing tool, similar to Adobe Photoshop. I already used it extensively, and again, it's free.
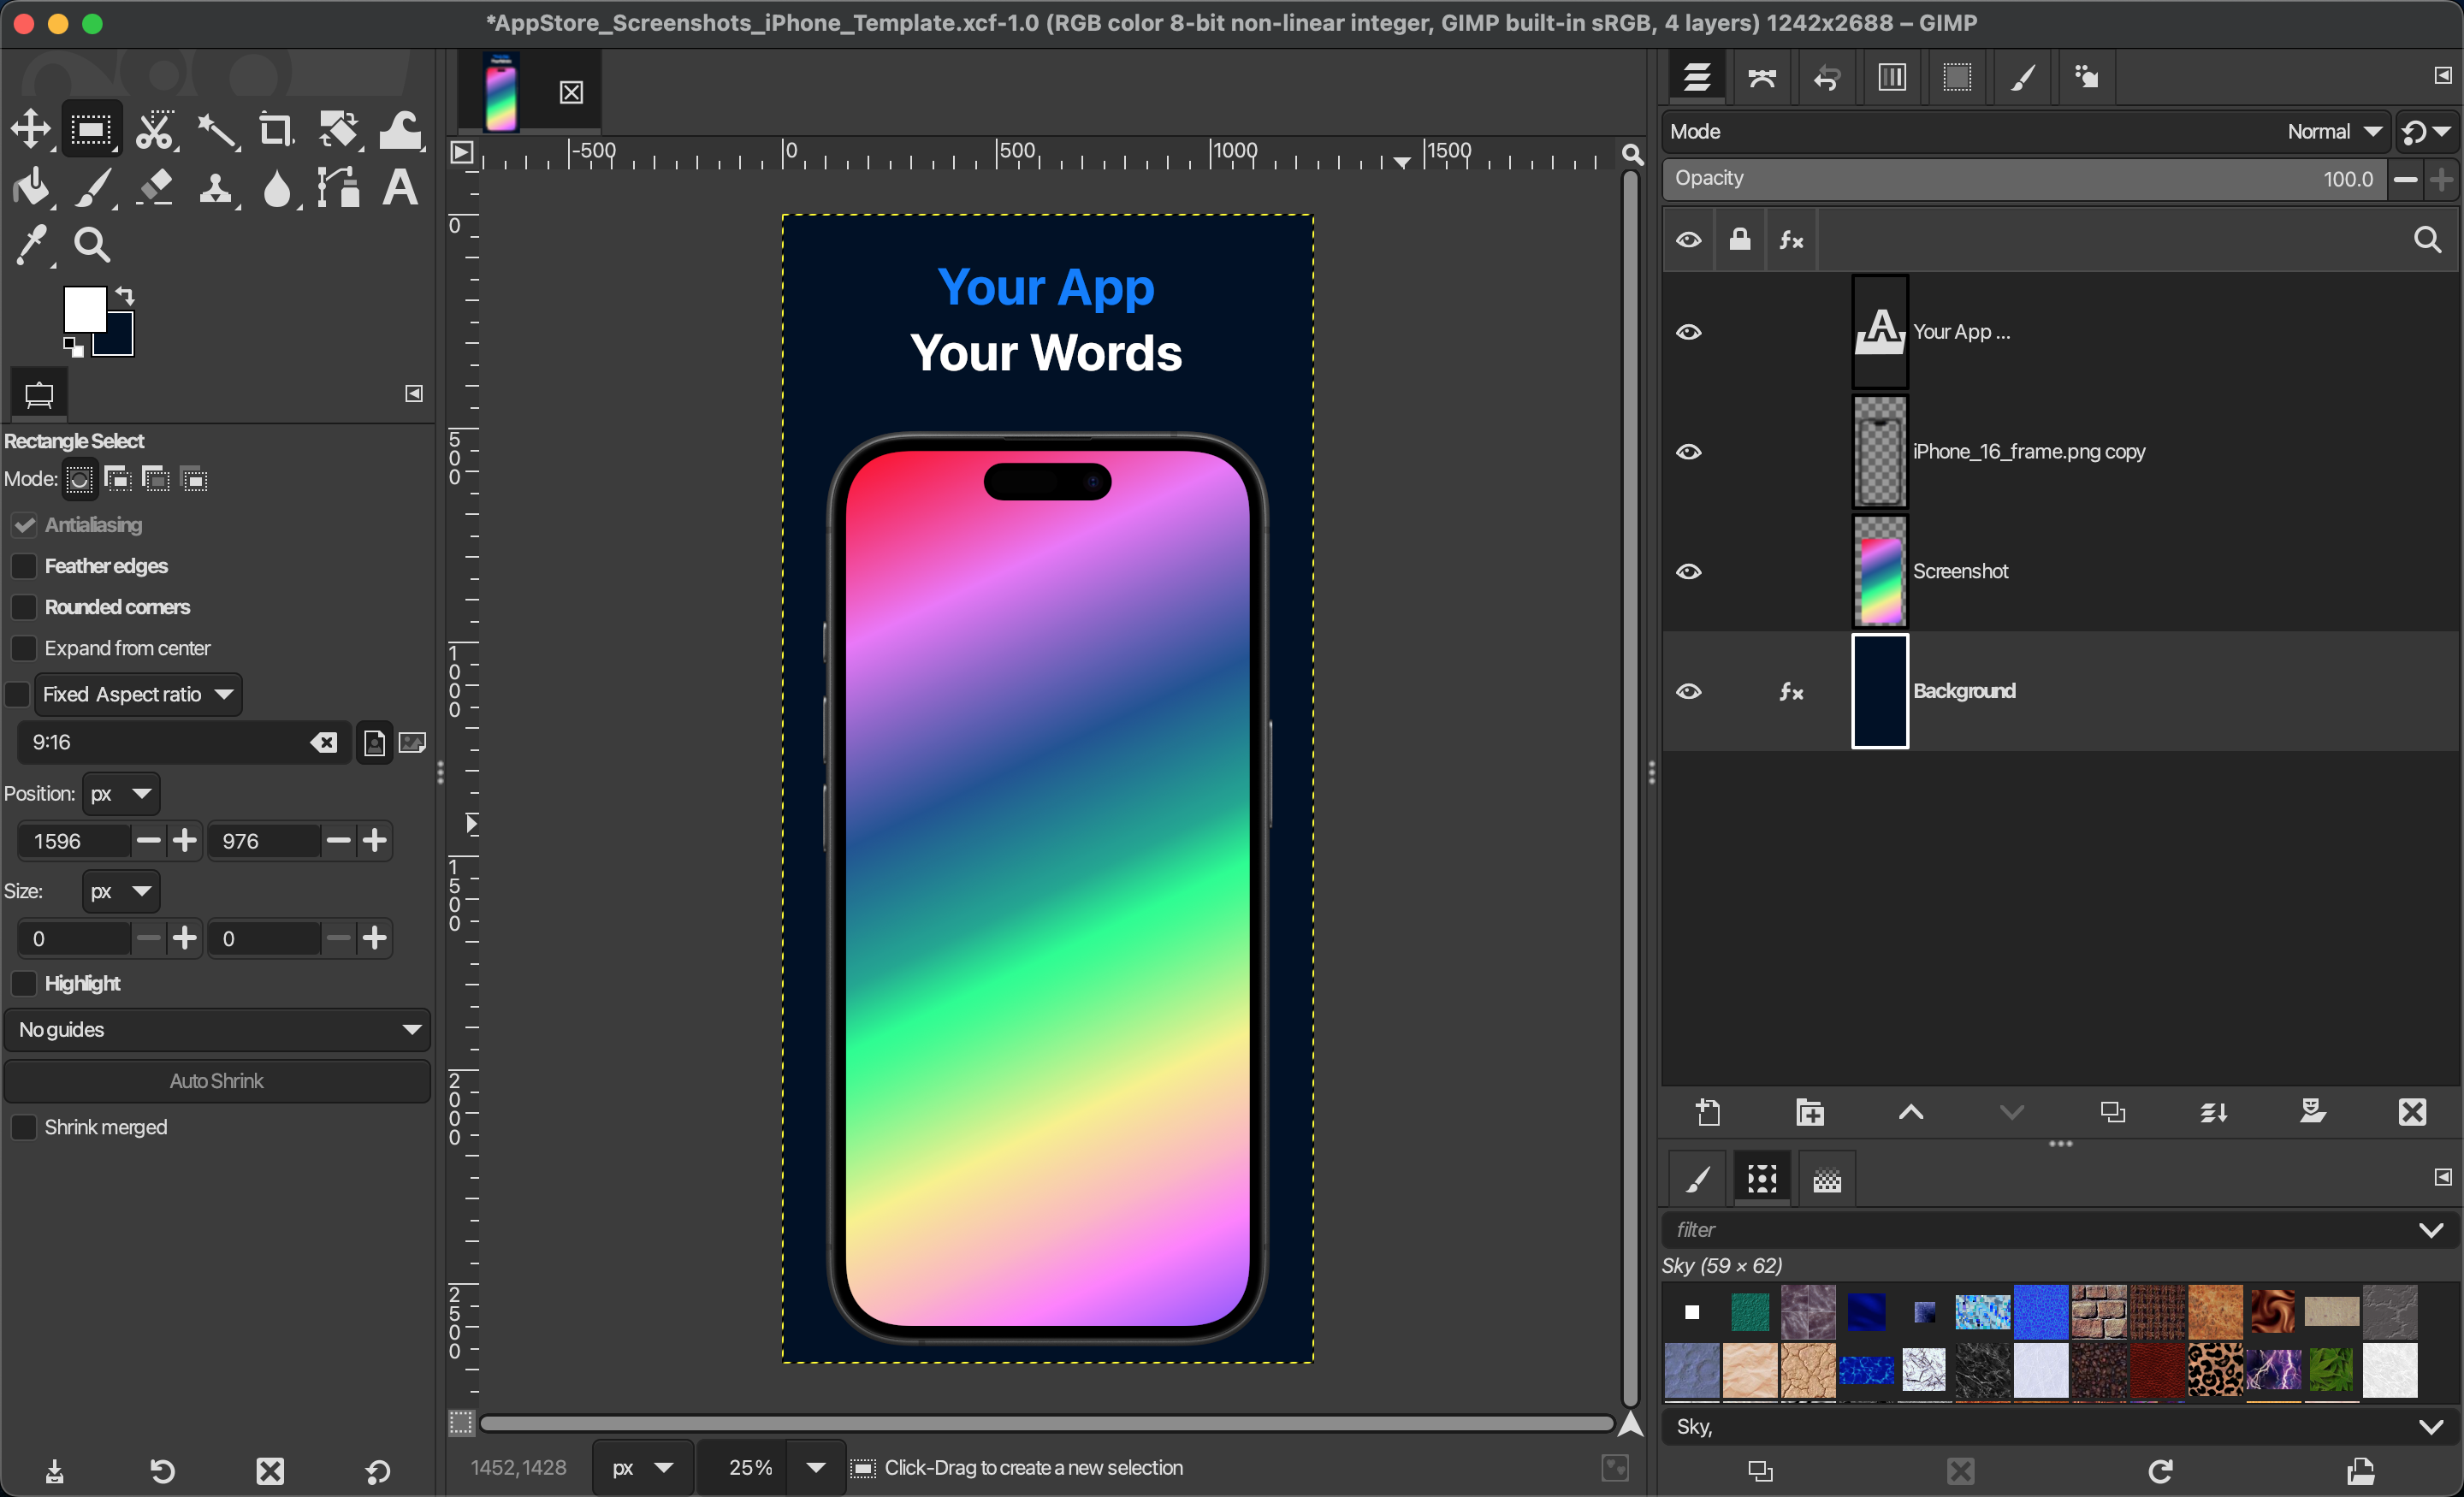
For OnTrack, I created the iOS screenshots first, ten screenshots in English. Both the caption and the app image capture needed to be in English. Even with a template, it took a few minutes per screenshot. So ten of them took over an hour. OnTrack supports 12 languages. It's available on iOS and Android, and the app stores allow one to provide screenshots for phones and tablets.
I had to make compromises to save time. I produced ten screenshots in nine languages for the iOS iPhone and Android phone, and ten screenshots only in English for the iPad and Android tablets.
It took about 18 hours. At the next visual update, I'd have to spend a lot of time. I had to find another way.
I actually published a visual refresh of the app a few months later, one reason being the release of Liquid Glass on iOS, the other being personal preference. And I haven't found the time to update the screenshots since then.
As promised, here are the four templates, even though my point is that it was too time-consuming to use these:
- For iPhone - iPhone 16
- For iPad - iPad Pro 13 inch
- For Android Phones - Google Pixel 9 Pro
- For Android Tablets - Google Pixel Tablet
Automating the GIMP template
I briefly attempted to automate the creation of the screenshots using GIMP's scripting, called Script-Fu. In under an hour, Claude gave me a script that could replace the placeholder screen capture in the original template and output a new GIMP project and PNG image.
./replace_screenshot.sh template.xcf new_screenshot.png output.xcf output.png
I realized I'd need more time to define the caption for each screenshot, the background and highlight colors, and the words to be highlighted in the caption. Without proper visualization, picking colors isn't ideal, and GIMP is not mainstream.
I built this app store screenshot tool for myself first, but I also believe it fits a niche of developers whom currently available tools do not serve, the ones building a handful of apps with few updates.
Relying on GIMP would limit who could use it, so I decided to build a web-first app going forward.
Existing services
- AppScreens
- The free tier allows for a single project with up to five screenshots, a single language, and limited features (e.g. no rotations of the frame)
- From $8 a month, it provides ten projects, ten screenshots each, five localizations and additional features. The auto-upload to the app stores is a great feature.
- Store View
- 3-day free trial
- Then from $7 per month
- The App Launchpad
- A free version
- From $29 a month (more expensive than Netflix, Spotify, Claude or ChatGPT 😳)
- Figma and the community templates are referenced a lot and seem to cover all the needs
- App-Mockup
- Discovered while writing this post, it has everything I needed and more, but I didn't find it before 😅
- It's clearly superior to what I built myself below.
The upside of building a product myself is that I get to learn about the technologies I use, including Claude.
Building Screenshot Studio
Here are the features that I looked for in an app store screenshot tool: free, ideally local-first to retain my own data, and multilingual.
The requirements emanate from my own usage: maybe a handful of apps over the next few years, with occasional updates. This eliminates all the subscription-based tools.
By multilingual I don't mean the tool's interface itself, but being able to generate screenshots with captions in multiple languages to display on the app stores in the users' favorite languages. This requirement is optional if a tool allows one to create multiple projects where the difference between projects is the language I use in the captions, and the screen captures.
Since I have limited time to dedicate to this, a simpler design is good enough. I do not need 3D rotations, panoramic images across two or more screenshots, or a commercial image to represent the brand.
Minimum Viable Product - Three hours from start to publication
With the above requirements in mind and the existing GIMP templates as inspiration, Screenshot Studio's MVP should support:
- Screenshots containing a screen capture of the app, framed in a device, with a caption on top
- The caption can have one or more words in a highlight color
- Up to 10 screenshots
- A single device, an iPhone
- Export individual screenshots as PNG in one of the Apple AppStore's mandated sizes
- Responsive so it can be used from a mobile device
I gave Claude these requirements and a basic tech stack: a web-first app, no backend, TypeScript, React and Tailwind CSS. Additionally, I gave Claude the path to my GIMP template, and instructions to use the Chrome DevTools MCP to test its work.
It took about three hours and very limited back and forth to produce that MVP. During these iterations, I pointed out that the screen capture's corners very slightly protruded beyond the rounded corners of the device frame, which I could see at the top. Claude quickly fixed it and figured out that the screen capture also protruded at the bottom of the frame, but was barely visible in the dark mode view. I also asked Claude once to use the Chrome DevTools MCP to do an accessibility audit, because I'd noticed some poor color contrast. Claude ran the audit, fixed the issues and made the accessibility audit part of its completion checks in every new session afterward.
Interestingly, Claude used a mix of Chrome DevTools MCP and the claude-in-chrome plugin to test its work. And it created E2E tests using a headless Chrome browser.
This was enough to release the first version, hosted on GitHub Pages, in three hours from the first session to publication.
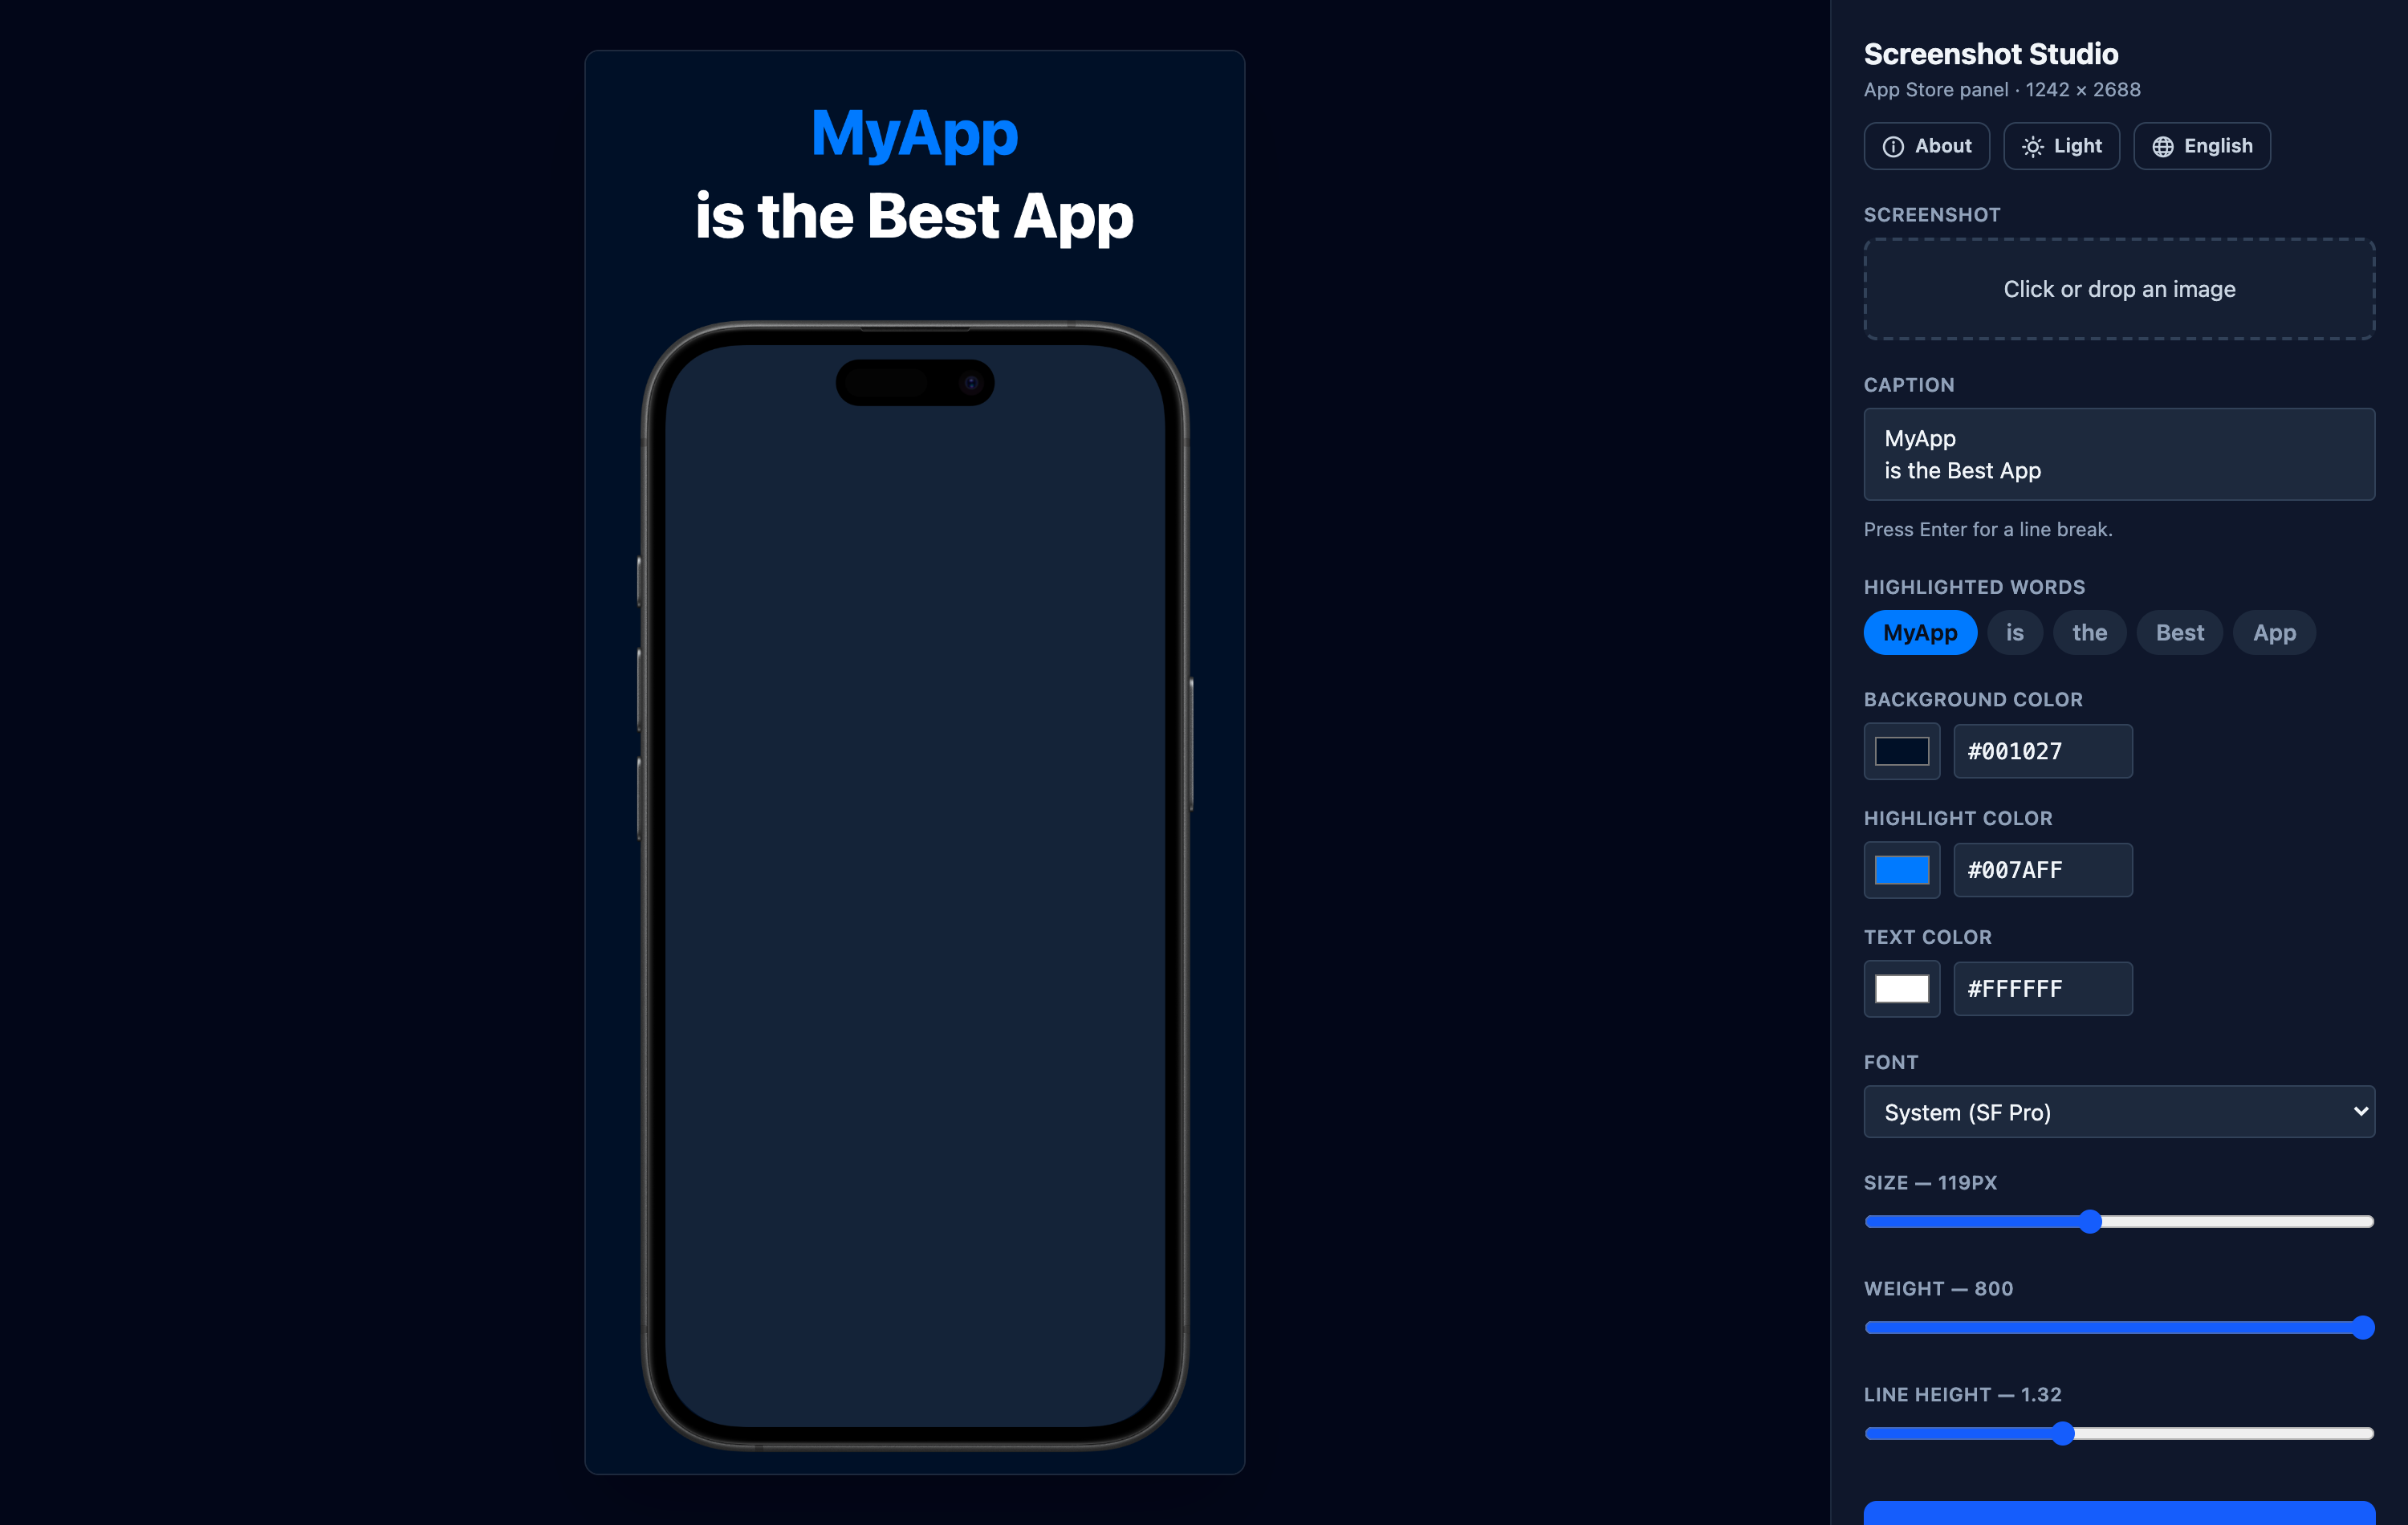
Here it is on first load:
And here it is after dropping in OnTrack's home screen, changing the caption and default color scheme:
Additional Features
In the week after the first release, I added a few features:
- Supporting the iPad, Android phone and tablet
- Supporting multiple languages in the UI
- Fixing bugs, including tokenization in Chinese, Japanese and Korean. These languages do not use whitespace, so highlighting a word in the caption requires tokenizing.
- Exporting all screenshots at once
- Saving the entire project to a Zip archive, and loading such archives
Future ideas
The current version still has a few rough edges.
First, I must fix potential overlaps of the dynamic island on iOS, or the hole-punch camera on Android, created by their presence in both the screen captures and device frames. Next, I'd like to build and share an AI agent skill and/or MCP server to automate more of the work.
Then, I'll add rotations and resizing of the device frames, side-by-side views of the screenshots, and more device frames.
Finally, I'm also working on providing a macOS app to provide a fully on-device offline experience.
How my Claude usage evolved
The main point for me when building apps and tools is the learning experience, specifically around AI tools.
I used Claude's $20 monthly plan, Opus 4.8 with the High effort setting, and I never hit any usage limit.
Compared to when I built the OnTrack mobile apps about six months ago, here is how my usage of Claude Code evolved:
I enabled auto mode. In short, auto mode is a safer version of --dangerously-skip-permissions where a dedicated model checks every request Claude makes, and auto-approves where it finds it safe. This is a game changer. I don't have to check in on Claude every few minutes to make sure it's not waiting on me.
Additionally, I use MCPs, CLIs and skills extensively. In this particular case, I instructed Claude Code to use the Chrome DevTools MCP to test its own work and fix its own issues.
A thing to note about MCPs: MCPs have long been criticized for bloating context. The bloat was mostly resolved by Anthropic in December 2025, but the reputation sticks to this day.
Since December 2025, Claude Code provides the Tool-Search tool. Initially in beta, it is now enabled by default in recent versions of Claude Code.
Claude Code now only loads some basic tools in the context by default, e.g. read and write files, web-search, but not all the MCP-provided tools. Then depending on the task at hand, Claude uses the Tool-Search tool to search available tools that could help with the task, and dynamically loads the relevant tools in the context.
Finally, the Chrome DevTools MCP provides tools to run Lighthouse accessibility audits.
It quickly caught several issues during the development. As always in accessibility testing, automation doesn't catch every usability and accessibility issue, but it still provides value at near zero cost.
Conclusion
This project has been about having fun building a new product, and continuing to learn with and about Claude Code.
I still haven't updated OnTrack's screenshots on the Apple AppStore and Google Play Store, so that is next, as I can now use Screenshot Studio, which will also help me improve it.